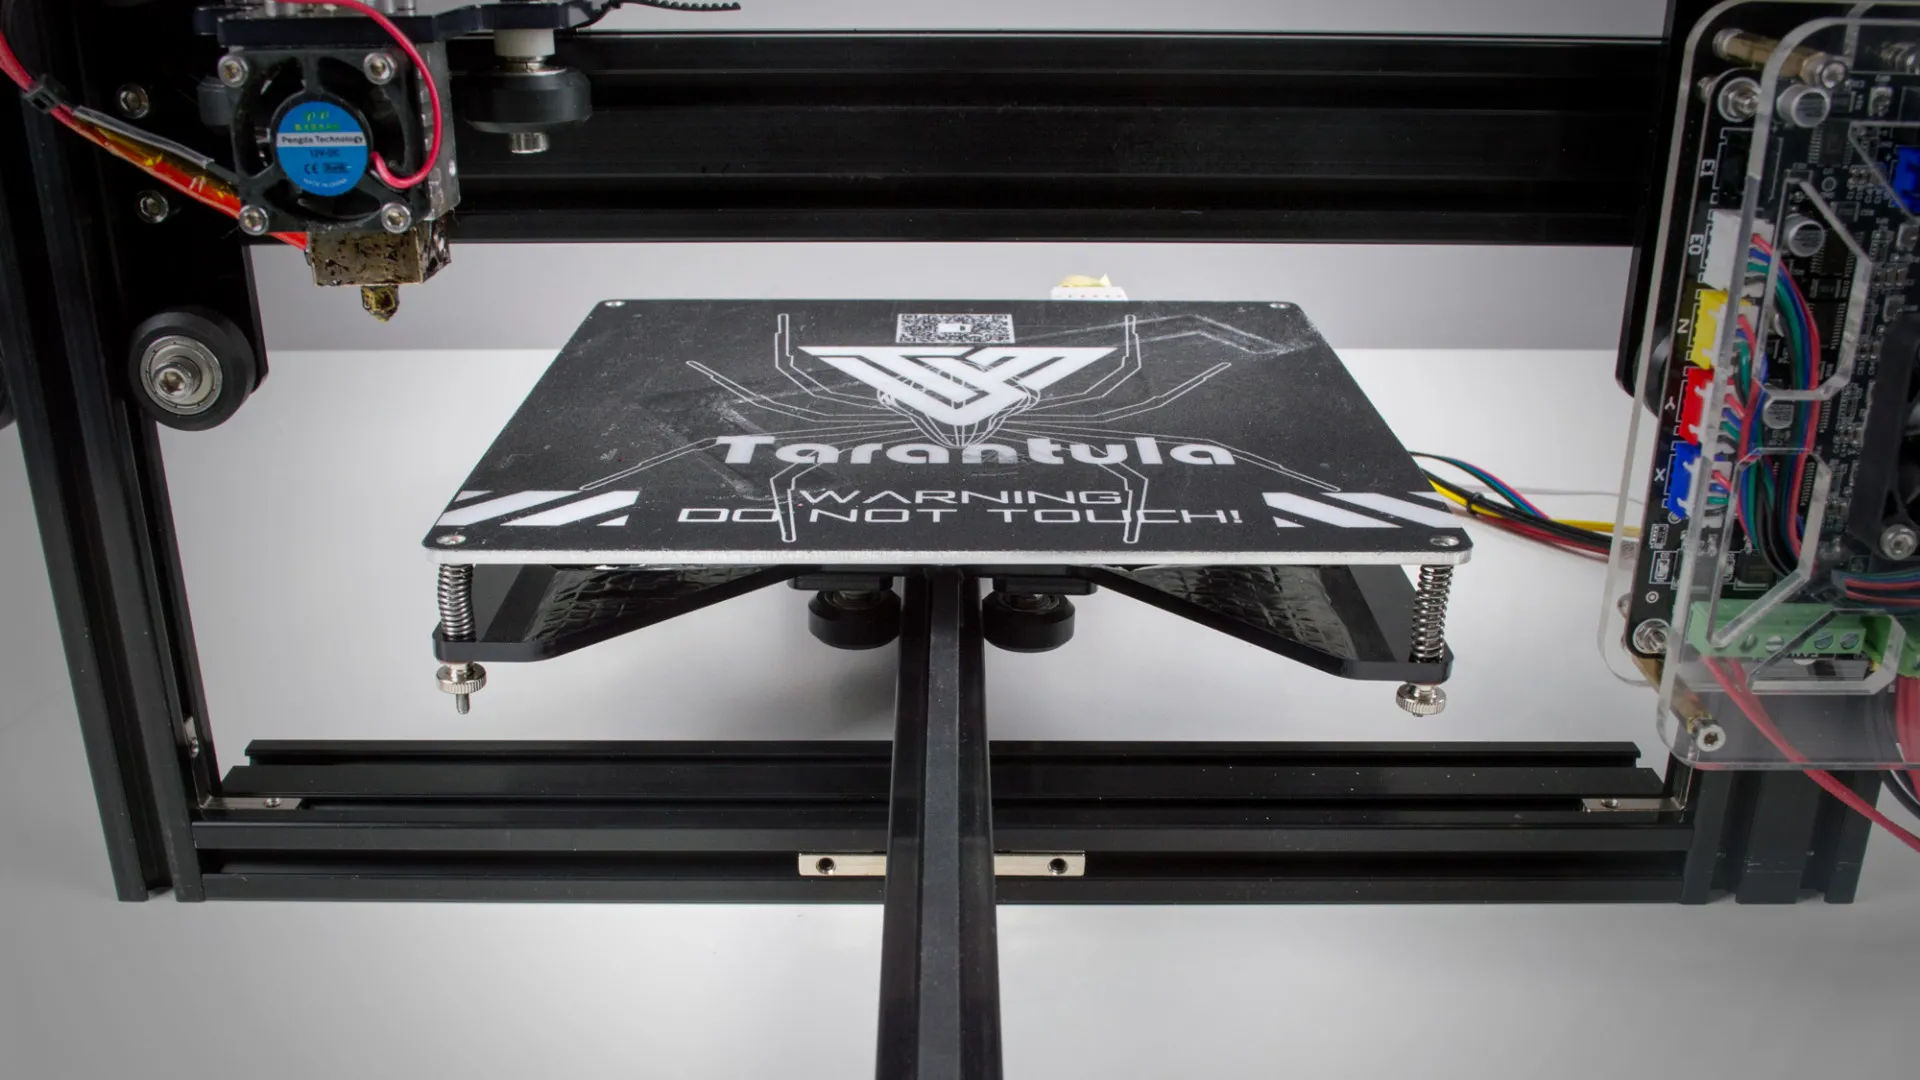
Understanding the Tevo Tarantula Pro and BLTouch Kit
The Tevo Tarantula Pro is a popular DIY 3D printer known for its affordability and ease of assembly. However, like many entry-level printers, manual bed leveling can be a time-consuming and often frustrating process. The BLTouch kit offers a significant upgrade, automating the bed leveling process and greatly improving print quality and consistency. This guide will walk you through every step of installing and configuring a BLTouch kit on your Tevo Tarantula Pro, ensuring a smooth and rewarding 3D printing experience. Upgrading your Tevo Tarantula Pro with a BLTouch kit is an investment that significantly improves print quality and user experience, making it a worthwhile project for both beginners and experienced 3D printing enthusiasts.
What is a BLTouch and Why Install It?
The BLTouch is an auto bed leveling (ABL) sensor designed for 3D printers. It uses a small probe that extends and retracts to measure the distance between the nozzle and the print bed at multiple points. This data is then used by the printer’s firmware to create a virtual ‘map’ of the bed’s surface, compensating for any imperfections or variations in the bed’s level. This results in a more consistent first layer, improved adhesion, and ultimately, higher-quality prints. Installing a BLTouch eliminates the need for manual bed leveling, saving time and reducing frustration. ABL also allows for printing on uneven surfaces, making it easier to achieve perfect first layers every time.
Benefits of Upgrading with a BLTouch Kit

The benefits of upgrading your Tevo Tarantula Pro with a BLTouch kit are numerous. First and foremost, it streamlines the print setup process. Say goodbye to constant manual adjustments. The BLTouch automates bed leveling, so you can spend less time fiddling with knobs and more time printing. Secondly, the BLTouch improves print quality. By accurately measuring the bed’s surface, it ensures the first layer is perfectly adhered, minimizing warping, and improving overall print accuracy. Thirdly, the BLTouch simplifies the printing process for beginners. No more struggling with bed leveling; you can focus on learning the basics of 3D printing and exploring your creativity. Finally, it offers peace of mind. With automated bed leveling, you can be confident that your prints will adhere properly, reducing the risk of failed prints and wasted filament.
Preparing Your Tevo Tarantula Pro for the BLTouch
Before you begin the installation, it’s crucial to prepare your Tevo Tarantula Pro. First, power down and unplug the printer for safety. Remove the print bed and any existing accessories that might interfere with the BLTouch installation. Make sure the printer’s frame is stable and the wiring is organized. Next, ensure you have sufficient space around the printer to comfortably work. Consider upgrading your mainboard if it doesn’t support the BLTouch. Most stock boards work, but some require firmware modifications or upgrades. Clean the print bed to ensure optimal adhesion. Taking these preliminary steps will make the installation process smoother and more efficient, setting the stage for a successful upgrade.
Tools and Materials You’ll Need
Gathering the necessary tools and materials is essential for a successful BLTouch installation. You’ll need the BLTouch kit itself, which includes the sensor, mounting bracket, and connecting wires. Essential tools include a small Phillips head screwdriver, a hex key set, and possibly a soldering iron and solder, depending on your chosen wiring method. You’ll also need a multimeter to verify wiring connections. Other helpful items include zip ties or cable ties to manage wires neatly, electrical tape for insulation, and a ruler or calipers to measure distances accurately. Having all the tools readily available will streamline the installation process and minimize potential frustrations.
Installing the BLTouch Sensor

The BLTouch sensor usually comes with its own mounting bracket. Attach the BLTouch sensor to this bracket using the provided screws. Ensure the probe is facing downwards. Next, carefully mount the bracket to the printer’s carriage, ensuring the sensor is positioned correctly relative to the nozzle. The probe tip should be slightly below the nozzle tip when the sensor is triggered. The precise distance, or Z-offset, will be configured later in the firmware. Tighten the screws securely, but avoid over-tightening them. Finally, ensure the BLTouch can move freely without hitting any part of the printer frame or other components. Proper mounting is crucial for accurate bed leveling and print quality.
Mounting the BLTouch to Your Printer
The mounting of the BLTouch to your Tevo Tarantula Pro depends on the specific bracket included in your kit or the one you’ve designed/printed. Carefully align the BLTouch with the nozzle, ensuring the probe deploys below the nozzle tip. Use the screws to securely fasten the bracket to the printer’s X-carriage. Verify the BLTouch probe’s range of motion and make sure it doesn’t collide with other printer parts. This is a crucial step for ensuring the BLTouch operates correctly. If necessary, you may need to adjust the bracket’s position to achieve optimal alignment. Make sure the probe’s deployment and retraction are not obstructed.
Wiring the BLTouch to Your Mainboard
Wiring the BLTouch correctly is essential. Consult your printer’s mainboard documentation to identify the correct pins for connecting the BLTouch. The BLTouch typically uses three or five wires: two for power, one or two for the signal, and one for the ground. Carefully connect the wires to the appropriate pins on the mainboard, ensuring the connections are secure. Double-check the wiring diagram to avoid short circuits. It’s recommended to use crimp connectors or solder the wires to ensure a reliable connection. Properly securing the wires with zip ties will keep them organized and prevent them from getting tangled. If your mainboard doesn’t have a dedicated BLTouch port, you might need to connect it to the Z-endstop pins. This can require re-flashing the firmware.
Flashing Firmware for BLTouch Compatibility

Flashing new firmware is a critical step. You’ll need to download the appropriate firmware version for your Tevo Tarantula Pro and BLTouch kit. Popular firmware options include Marlin and Klipper. You may need to customize the firmware to enable BLTouch functionality and configure the correct pin assignments. Use a USB cable to connect your printer to your computer. Utilize software like Arduino IDE or similar to upload the new firmware to the printer’s mainboard. This step can be daunting, but thorough research and following instructions precisely will prevent issues. Be patient and double-check all settings before flashing. Incorrect settings could lead to malfunctions.
Downloading and Configuring the Firmware
Download the latest stable version of Marlin or your preferred firmware. Open the firmware in Arduino IDE or your chosen software and navigate to the configuration files (Configuration.h and Configuration_adv.h). Enable the BLTouch feature by uncommenting the relevant lines. You’ll need to specify the correct pin numbers for your BLTouch wiring. Configure the Z-probe offset settings. These settings define the distance between the nozzle and the BLTouch probe when the probe is triggered. Ensure the bed size and other printer settings are correctly configured. Once you’ve made all the necessary changes, save the configuration files. Then, upload the modified firmware to your Tevo Tarantula Pro. Carefully review all settings before flashing to ensure everything is correct.
Configuring Your Slicer Settings
After installing the BLTouch and updating the firmware, you’ll need to configure your slicer settings. In your slicer software (such as Cura or PrusaSlicer), enable the use of a bed leveling system. Configure the slicer to use the mesh bed leveling feature. In the start G-code, add the necessary commands to probe the bed before each print. These commands typically include ‘G28’ (home all axes) followed by ‘G29’ (ABL). Ensure the Z-offset is correctly set in your slicer settings to compensate for the distance between the nozzle and the activated BLTouch probe. Test a small print to verify that the bed leveling is working correctly and that the first layer adheres properly. Make sure that the bed leveling is enabled in your slicer and the G-code correctly reflects the settings for ABL.
Adjusting Z-Offset for Perfect Bed Leveling

The Z-offset is the most crucial setting. It defines the distance between the nozzle and the bed when the BLTouch is triggered. To calibrate the Z-offset, home your printer and then manually adjust the Z-offset in your printer’s control panel. You can use a piece of paper between the nozzle and the bed to feel for the correct distance. The paper should offer slight resistance when you try to move it. Alternatively, use the live Z-offset adjustment feature while printing the first layer. Adjust the Z-offset in small increments until the first layer adheres perfectly to the bed. Save the Z-offset value in your printer’s firmware. Fine-tuning the Z-offset is essential for achieving perfect first-layer adhesion and ensuring print quality.
Testing and Troubleshooting Your BLTouch Setup
After installing and configuring your BLTouch, thorough testing is crucial. First, home the printer and verify that the BLTouch probe deploys and retracts correctly. Then, manually trigger the BLTouch and ensure the nozzle moves to the correct Z-height. Print a test pattern or a small object to check the first layer adhesion. If the first layer is too high, decrease the Z-offset. If the first layer is too low, increase the Z-offset. If you experience any issues, carefully check your wiring, firmware settings, and slicer settings. Many online resources and forums can provide assistance. Troubleshooting is often an iterative process, so don’t be discouraged if it takes a few attempts to get it right.
Initial Testing and Calibration
After installation, begin with simple tests. Home all axes and verify that the BLTouch deploys and retracts smoothly. Check the nozzle’s position relative to the bed after the probe activates. Perform a bed leveling sequence using your printer’s control panel. Run a test print, such as a small square or a first-layer test pattern. Observe the first layer to ensure it adheres well to the bed. Look for any gaps or unevenness. Adjust the Z-offset setting as needed to achieve the perfect first layer. Successful calibration requires patience. Make small adjustments and test again until you achieve the desired results. Document your settings for future reference.
Troubleshooting Common BLTouch Issues

Several common issues can arise during BLTouch installation and operation. If the probe doesn’t deploy or retract, check the wiring and the firmware settings. If the probe doesn’t trigger, the Z-offset might be incorrect. If the nozzle drags across the bed, the Z-offset is too low. If the prints don’t adhere, the Z-offset might be too high. Ensure the BLTouch probe tip is clean and unobstructed. If you’re experiencing bed leveling issues, check the bed’s surface for any debris. Consult online forums and communities for help. Troubleshooting is part of the learning process. Document your issues and the steps you take to resolve them. Many experienced users are willing to assist.
Optimizing Your Prints with BLTouch
Once your BLTouch is properly installed and calibrated, you can optimize your prints. Ensure your bed is clean and free of debris. Experiment with different bed temperatures and filament types. Fine-tune your slicer settings, such as first-layer speed, to improve adhesion. The BLTouch can help you overcome uneven bed surfaces. If your bed has minor imperfections, the BLTouch will compensate for them during printing. Use the mesh bed leveling feature in your slicer to create a virtual bed map. This will further improve the accuracy of the first layer. Embrace experimentation and seek expert advice to enhance the quality of your prints. Continual refinement will lead to superior results.
Advanced Tips for Perfect First Layers
For advanced users, here are some tips for perfecting first layers with BLTouch. Ensure the bed is level and properly cleaned. Adjust the Z-offset precisely, using the live Z-offset adjustment during printing. Consider using a brim or raft for prints that are prone to warping. Optimize your print bed temperature based on the filament type. Experiment with different first-layer speeds for improved adhesion. Use a high-quality print bed surface, such as a PEI sheet or a glass bed, for optimal adhesion. Remember that consistent results depend on precise calibration, careful adjustments, and high-quality materials. Fine-tuning your settings will optimize print performance and enhance the quality of your prints. With these tips, you can create impeccable first layers, improving the overall quality of your prints.
Maintaining and Upgrading Your BLTouch System
Regular maintenance will help your BLTouch system perform optimally. Keep the probe tip clean and free of debris. Check the wiring regularly for any loose connections. Ensure the mounting bracket is secure. Consider upgrading to a newer version of the BLTouch or a similar sensor. Stay up to date with the latest firmware releases for your printer. Explore the use of different bed surfaces and materials. Learn from online communities and experiment with new techniques to improve print quality. Proper maintenance and continuous improvements are key to keeping your 3D printing system in top shape. These practices will ensure consistent performance. Continuous learning and adapting to new technologies will further enhance your overall 3D printing experience.